Pages

Friday, December 30, 2011

{Breakfast From The North Pole}

This year, I finally gave in to the Elf on the Shelf phenomenon. I have several friends who have had their "elves" come to visit their household during the holiday season and always thought it was a cute idea. But then I was a total cheapo and didn't want to spend $30 on it. But I caved and started our new family tradition.

And I am so glad I did. My kids LOVED it!

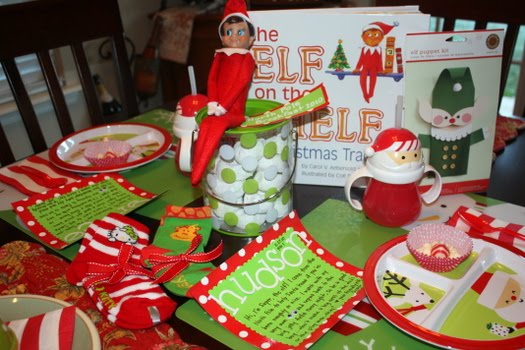
I saw this cute idea on Pinterest from "Little Pumpkin Grace" and fell in love with the whole thing.
How adorable is that???? Be sure to click here to read the original blog post from Jessica's blog. She has a ton of great pictures and ideas from when she did this with her family.


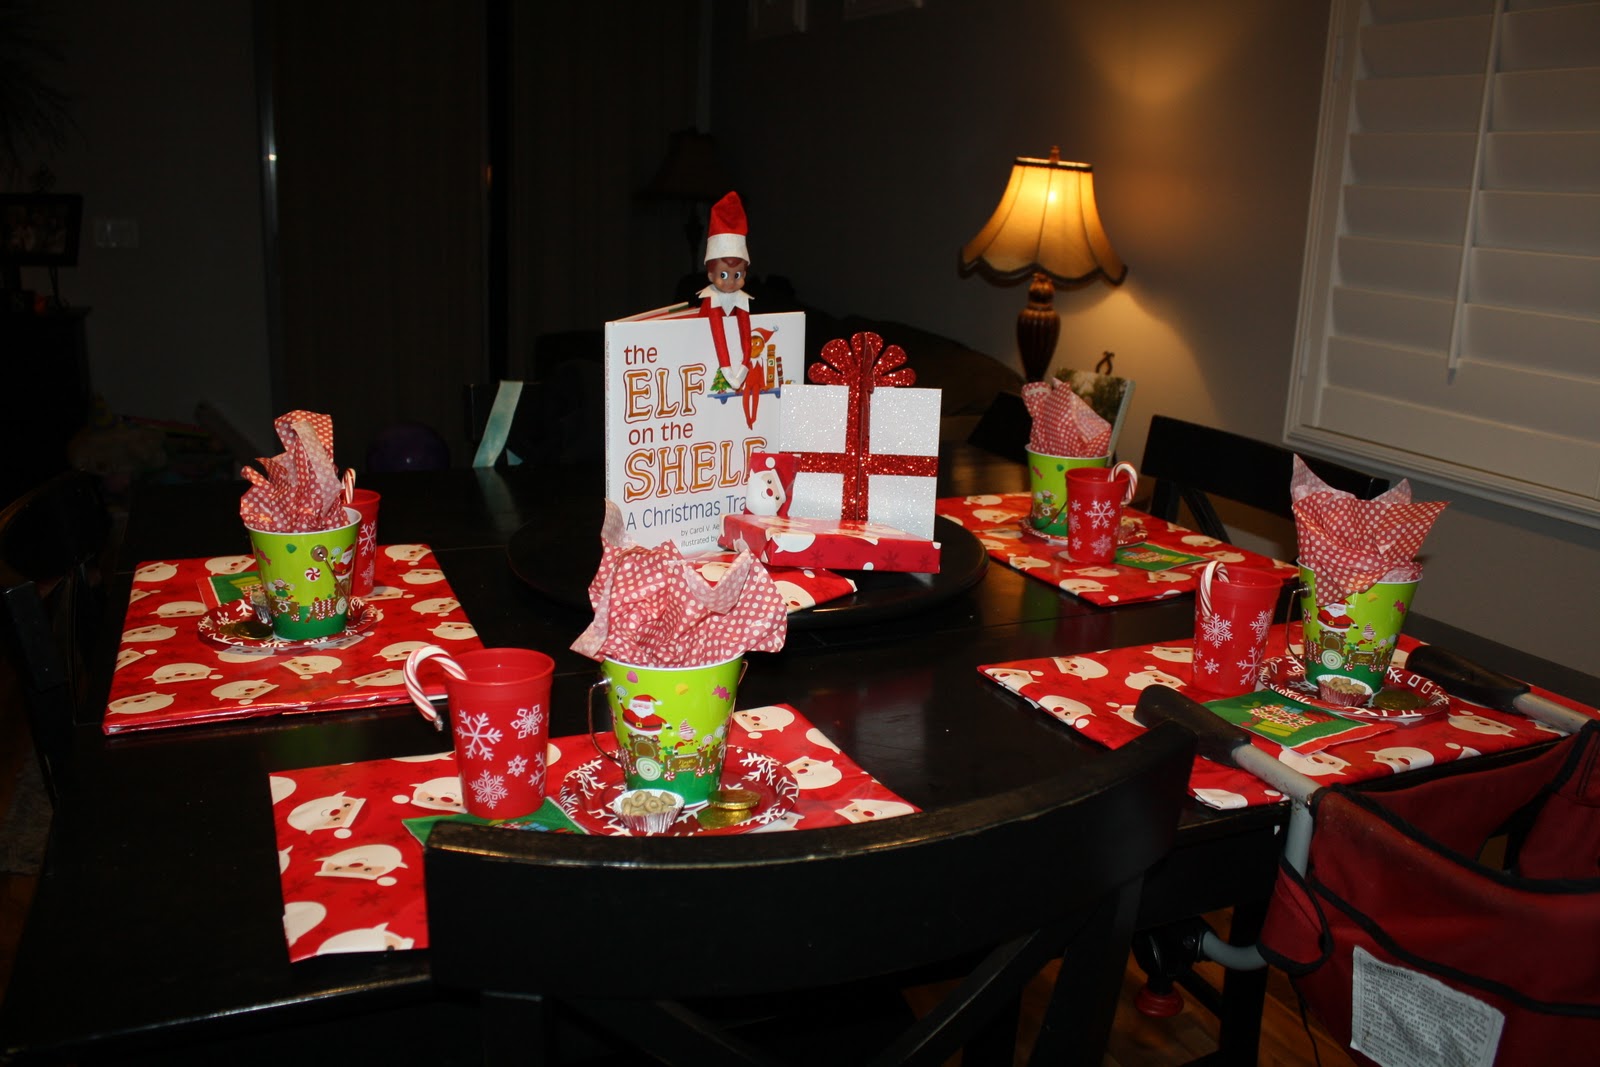
So after Thanksgiving dinner was over and everyone was in their beds and fast asleep, I started setting up the breakfast for the next morning. 


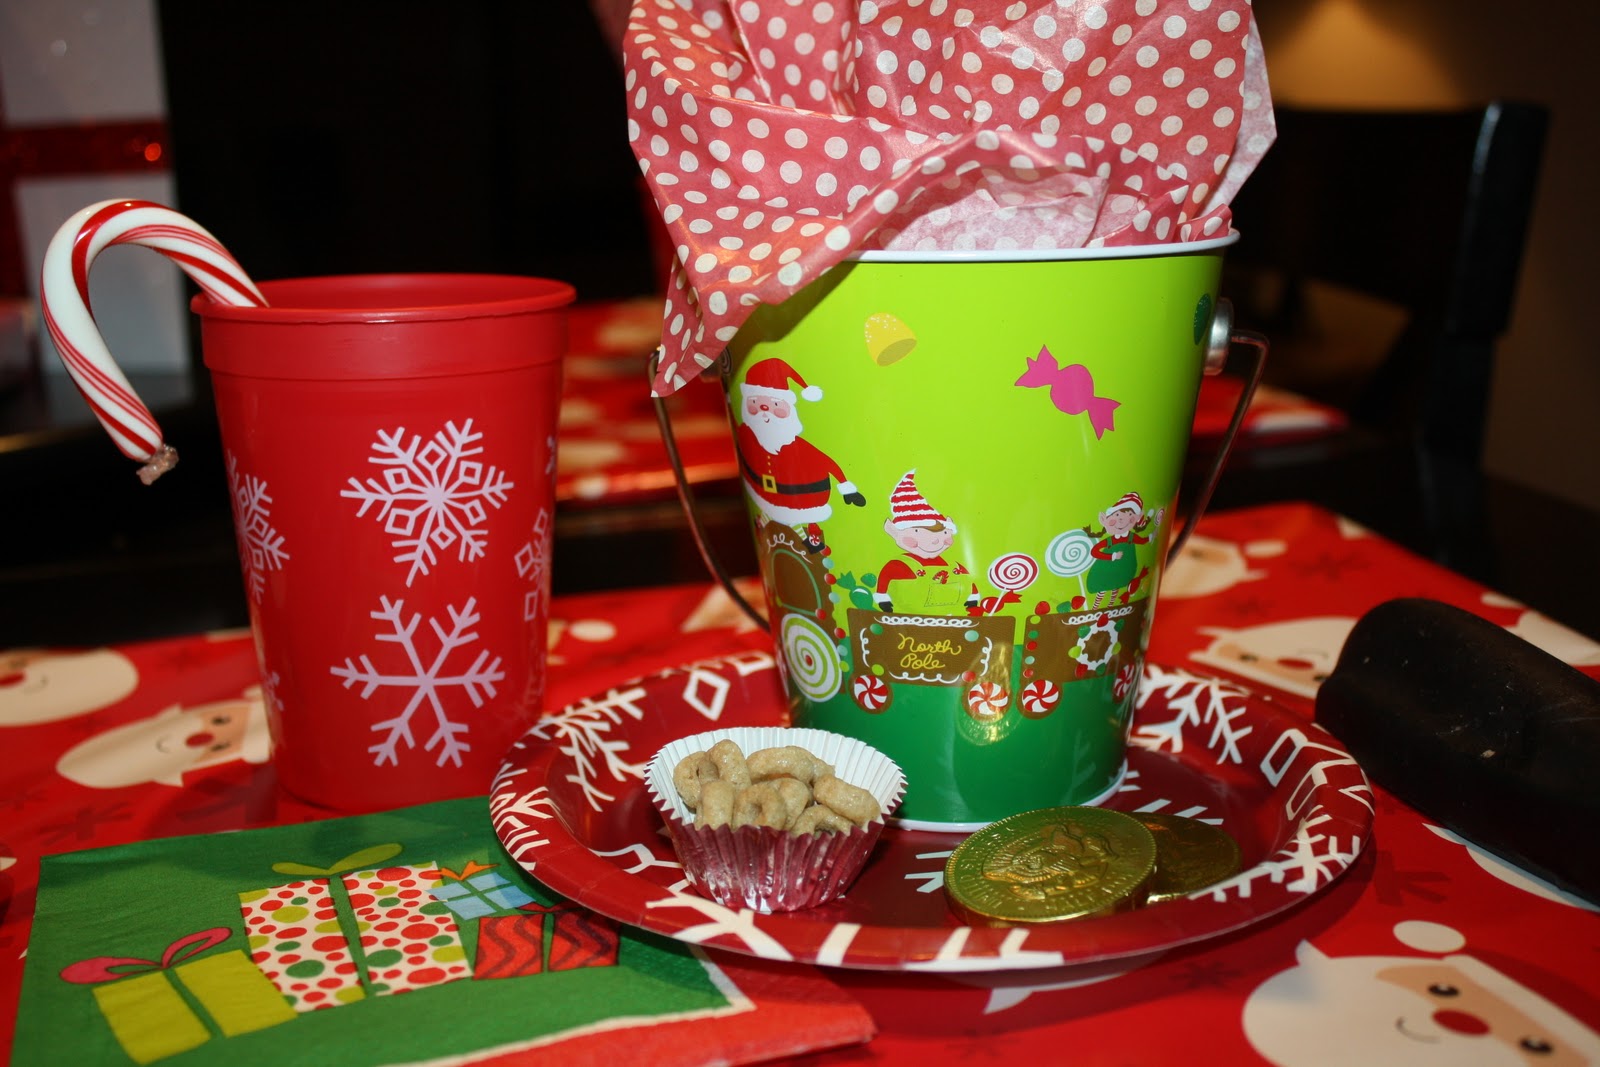
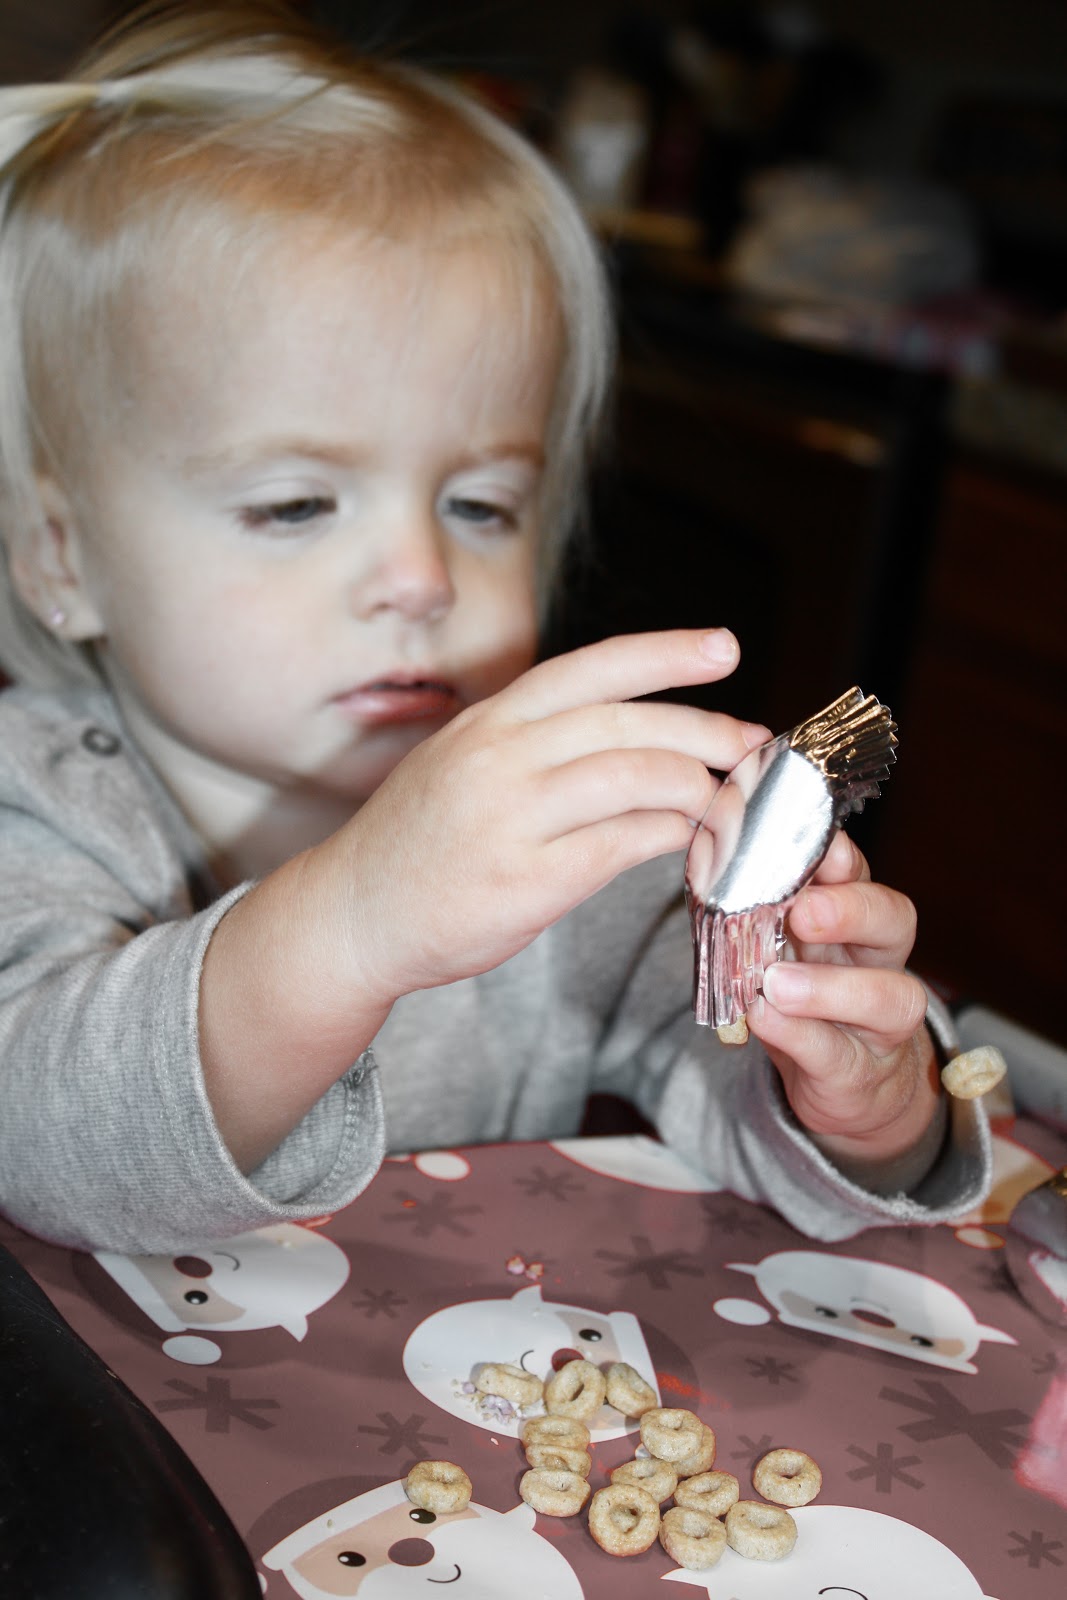
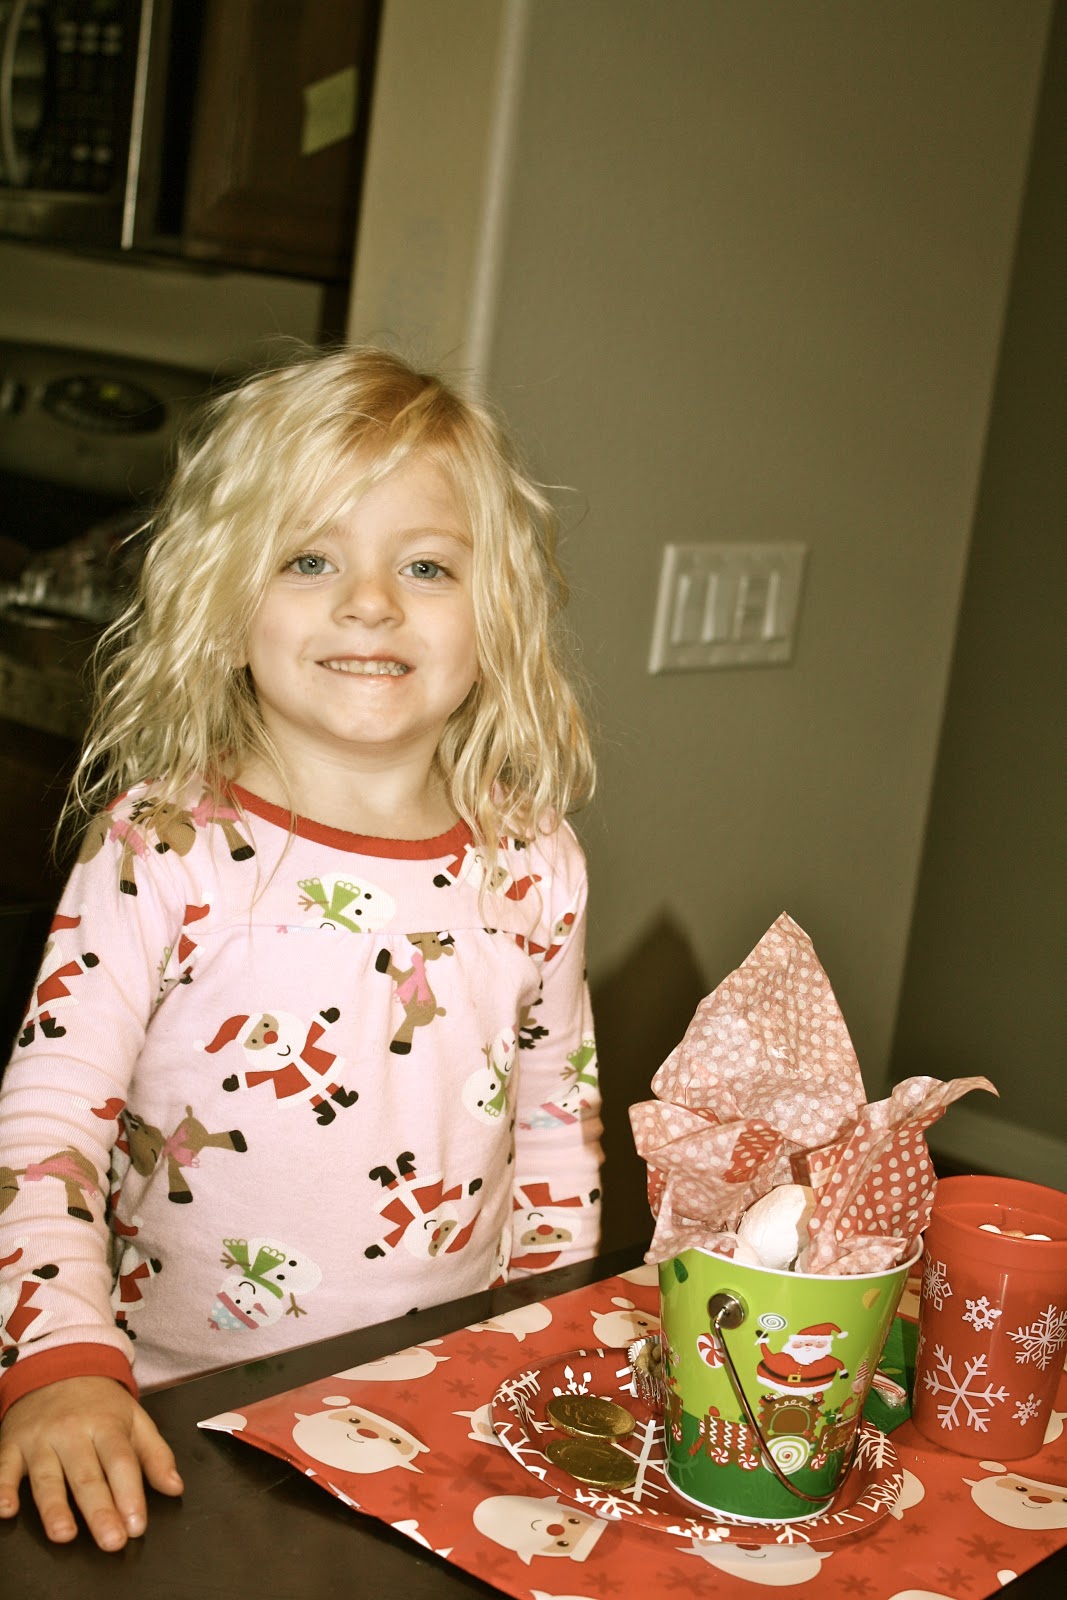
And the next morning we led the kids out to the kitchen and told them that a special elf had been sent down from Santa and that he had brought us breakfast. It was so much fun to watch their eyes light up with excitement. I am FOR SURE doing this every year. Here are some of the pictures from our breakfast ...


The breakfast from the North Pole was a MAJOR HIT - so happy that I came across this on Pinterest! And I think other than it being super cute, it was super easy. I didn't really have to make anything. Just bought powdered sugar doughnuts, made hot chocolate with mini marshmallows, and had some cheerios on hand to snack on too. Add some chocolate coins and a couple candy canes and voila! All done and so simple. I hope that you try this tradition with your family, I am looking forward to the North Pole Breakfast being a part of our holiday season for many years to come.

- Junkie Tawni
Pin It

Monday, December 19, 2011

{Breaking Dawn Party}

I wouldn't call myself a "Twilight Mom" but I will admit that whenever a new Twilight movie comes out, I do get a little giddy. Maybe it's because I loved the book series so much or maybe it's because I love me some Edward. Either way, the minute we bought tickets to the midnight showing, we also started looking online at Pinterest to see what fabulous ideas there were regarding Twilight parties. And oh my, there were a lot.


First we needed a jumping off point on how to set up our food table. We found this one from "Candy and Cake" and used it as our guide.
Website: www.candyandcakes.blogspot.com
Click Here to see the original blog post


We knew we wanted to have a balloon garland as well. We had seen one on Pinterest from "A Girl And A Boy" and loved the idea. Such a simple way to add balloons to your decor without needing helium.
Website: www.agirlandaboy.com
Click Here to see the original blog post


So here is how our table looked ... Are you loving the balloon garland or what???


We got the printable quotes and signage from "Gluten Free Frenzy"
Website: www.glutenfreefrenzy.com
Click Here to see the original blog post


We are already looking forward to the next one!!!

- Junkie Sheri and Junkie Tawni
Pin It

{Going Gray}

Let's just talk about my obsession with gray paint. I love love love it! I have found NUMEROUS images on Pinterest that I hoped to one day use for inspiration in my own home. And then I saw this one from Censational Girl and knew I just had to paint my walls. Immediately.

Website: www.centsationalgirl.com
(Click Here for the original blog post)

Yes the fireplace is amazing and so is that mirror.

I have no fireplace or fantastic mirror like that in my house but I hoped that the gray would still look good. So one Friday night in October, my mom and I went to dinner and then grabbed painting supplies and started our project. 

My house has had nice beige walls for the past 6 years. Nothing wrong with the color beige but I was ready for a change after I saw all the beautiful gray walls on Pinterest.

So here is the BEFORE picture


And look how beautiful the new wall color is!!!!

I am loving the new look. I feel like a few simple coats of paint changed the entire look of my house. I feel like it's the perfect shade of gray for me and my taste.

Like what you see?

The paint I used was from Sherwin Williams. It is the HGTV Brand and it's called "Skyline Steel #1015." The paint color is not currently sold in stores but they still know how to mix it up for you.

So now that my walls were the right color, it was time to come up with a different idea for my entryway table. I had always had my black table against the wall with our three wedding pictures above it. On the table were a variety of decorations like a clock, a wreath, some pictures, and a few other things. It wasn't ugly, it wasn't horrible, it was just boring. It had been the same way for the past 6 years and now that I had new paint, I needed a new look.

One of my favorite things to do is look through what I already have on hand. Save yourself money, save a trip to the store, and use the awesome stuff you have throughout your house. You can create a whole new look by moving stuff around. 

I needed a jumping off point and I decided on a mirror. Enter a quick trip to TJ Maxx and $70 later I had my mirror. The rest of the entryway table came together by grabbing a lamp, a wreath, and some picture frames from stuff I already had and I was finished.


I love me a soft warm glow ...


Here is a pretty good idea of how the mirror looks against the gray paint - perfect!
 So happy it's done, now onto the next project!


- Junkie Tawni
Pin It

Sunday, December 4, 2011

{Super Cute Treat Bags}

Every year my husband's company has a potluck luncheon on Halloween. The employees bring the food and our kids come show off their costumes and we all eat and hang out. 

This year I was asked to make some sort of treat bags that we could fill up with candy and give to the kiddos. I had a couple of ideas in my head but couldn't decide what direction to go. So I jumped on Pinterest as I always do when I am stuck in a creative funk and searched for some gift bag ideas. 

After looking through a few pins, I came across this image from www.michaels.com
(click here to view the original PIN)

I wasn't really into the picture on the front of the bag, but I liked the simplicity of just dressing up plain old brown paper bags. I wanted mine to be a bit more personalized so I decided to go with the paper bag idea and incorporate each child's name on there somehow. After a trip to Michael's to grab some supplies, my project was underway.


Here's what I came up with ..... 


Absolutely loved the way they turned out. Maybe it was the glitter, maybe it was colors, maybe it was how easy they were to make. 

If you are looking for a really fast, easy, and cute way to make a treat/gift bag, I would highly recommend this one! If you would like to make your own bags, here's a list of supplies you will need ....

1) Brown Paper Bags (I like the ones with the handles)
2) Scrapbook Paper
3) Glue/Adhesive (I use Glue Dots)
4) Ribbon
5) Tissue Paper
6) Paper Hole Punch

Have fun!

- Junkie Tawni
Pin It

Saturday, November 19, 2011

{Applesauce Puffs}

One of my favorite things about Pinterest are all the amazing recipes and new cooking blogs I find. I came across these applesauce puffs a few weeks ago and thought they looked like something yummy to try. Oh my stars was I right!! They tasted like little doughnuts. I loved how they were so quick and I already had all the ingredients ready to go. We had them for breakfast with scrambled eggs and my kids were thrilled!
Applesauce Puffs
Recipe from Full Bellies, Happy Kids

2 cups Biscuit Mix
1/2 cup sugar
1 1/4 teaspoon cinnamon
1/2 cup applesauce
1/4 cup milk
1 egg, beaten
2 tablespoons vegetable oil
2 tablespoons melted butter

Heat oven to 400° .Grease 12 muffin tins. Mix 1/4 cup sugar and 1/4 teaspoon cinnamon and reserve. Combine Biscuit Mix and 1/4 cup sugar and 1 teaspoon cinnamon in a bowl. Add applesauce, milk, egg and oil. Beat well. Fill greased muffin tins 2/3 full. Bake for 12 minutes. Remove muffins and dip in melted butter, then in sugar and cinnamon mixture. Yields 12 muffins.

- Junkie Sheri
Pin It

Friday, November 18, 2011

{Weekly Cleaning Schedule}


Cleaning Schedule from The Blooming Homestead 
(www.bloominghomestead.blogspot.com)


I knew the minute I came across this on Pinterest that I would be trying it out. I have been wanting to get myself on a cleaning schedule for a couple of months but never got around to sitting down and writing one down. Thank goodness for Pinterest. I had plenty of schedules to choose from but this one from The Blooming Homestead stood out to me. Maybe it was the colors, maybe it was the fonts, but for whatever reason, I loved it.

So we got home from vacation and unpacked the car and when I finally had a minute to look around, I realized our house was a disaster. Complete and utter chaos. I decided that it was time to start the cleaning schedule to get on track.

I printed out my new cleaning schedule and stuck it right up on my fridge and started with the area of the house for the day. It was the kitchen. My most dreaded area to clean. I have the HARDEST time keeping clutter off our kitchen counters. It seems like that is where everything that doesn't have a place to go ends up. It will be cleaned up for one day and then it's back to disaster the next. Grrr. But with my new plan in mind, I grabbed my ipod, stuck in my headphones, and started tackling the mess.


{Kitchen Table}


{Kitchen Counters}


I love displaying wedding announcements, baby showers, and pictures up on our fridge. But the problem is that after awhile, it starts to look a bit cluttered. So I took the time to put all the stuff in my memory box and got the fridge all cleaned up.


After doing the fridge, I was on a roll. I decided to get all those little fingerprints off the rest of the appliances. Love the look of stainless steel but the smudges can get out of control super fast.


{End Result - Love it!}

So I started this on a Tuesday and stuck to it all week long and I loved it! I thought it was nice to walk by the bathroom and see that it needed some attention but not feel like I had to get to it that minute because I knew that I would be dedicated it to it later in the week. It brought me a sense of peace and calm. It might seem lame but I loved knowing that there was an assigned time during the week for each area of my house. By the time the end of the week arrived, my house was in great shape and so tidy! I would highly recommend it to anyone looking for a GREAT cleaning schedule.

- Junkie Tawni
Pin It

Tuesday, October 18, 2011

{Visiting Teaching Conference Kits}

For General Conference this year, we decided to give our ladies a little "Conference Packet." Here is the original that we saw on PINTEREST (click here for the original post)
The packets are made up of popcorn, a notebook, lotion, and extra gum. Here's what our supplies looked like.

The tag is a printable from the original post as well ... Then we just wrote our names at the end.


Sheri had these brown paper bags and I had the ribbon on hand so we combined our supplies and we were done! All in all, it was a super easy packet to put together and drop off. Definitely doing another one for Conference in April.

- Junkie Sheri and Junkie Tawni
Pin It